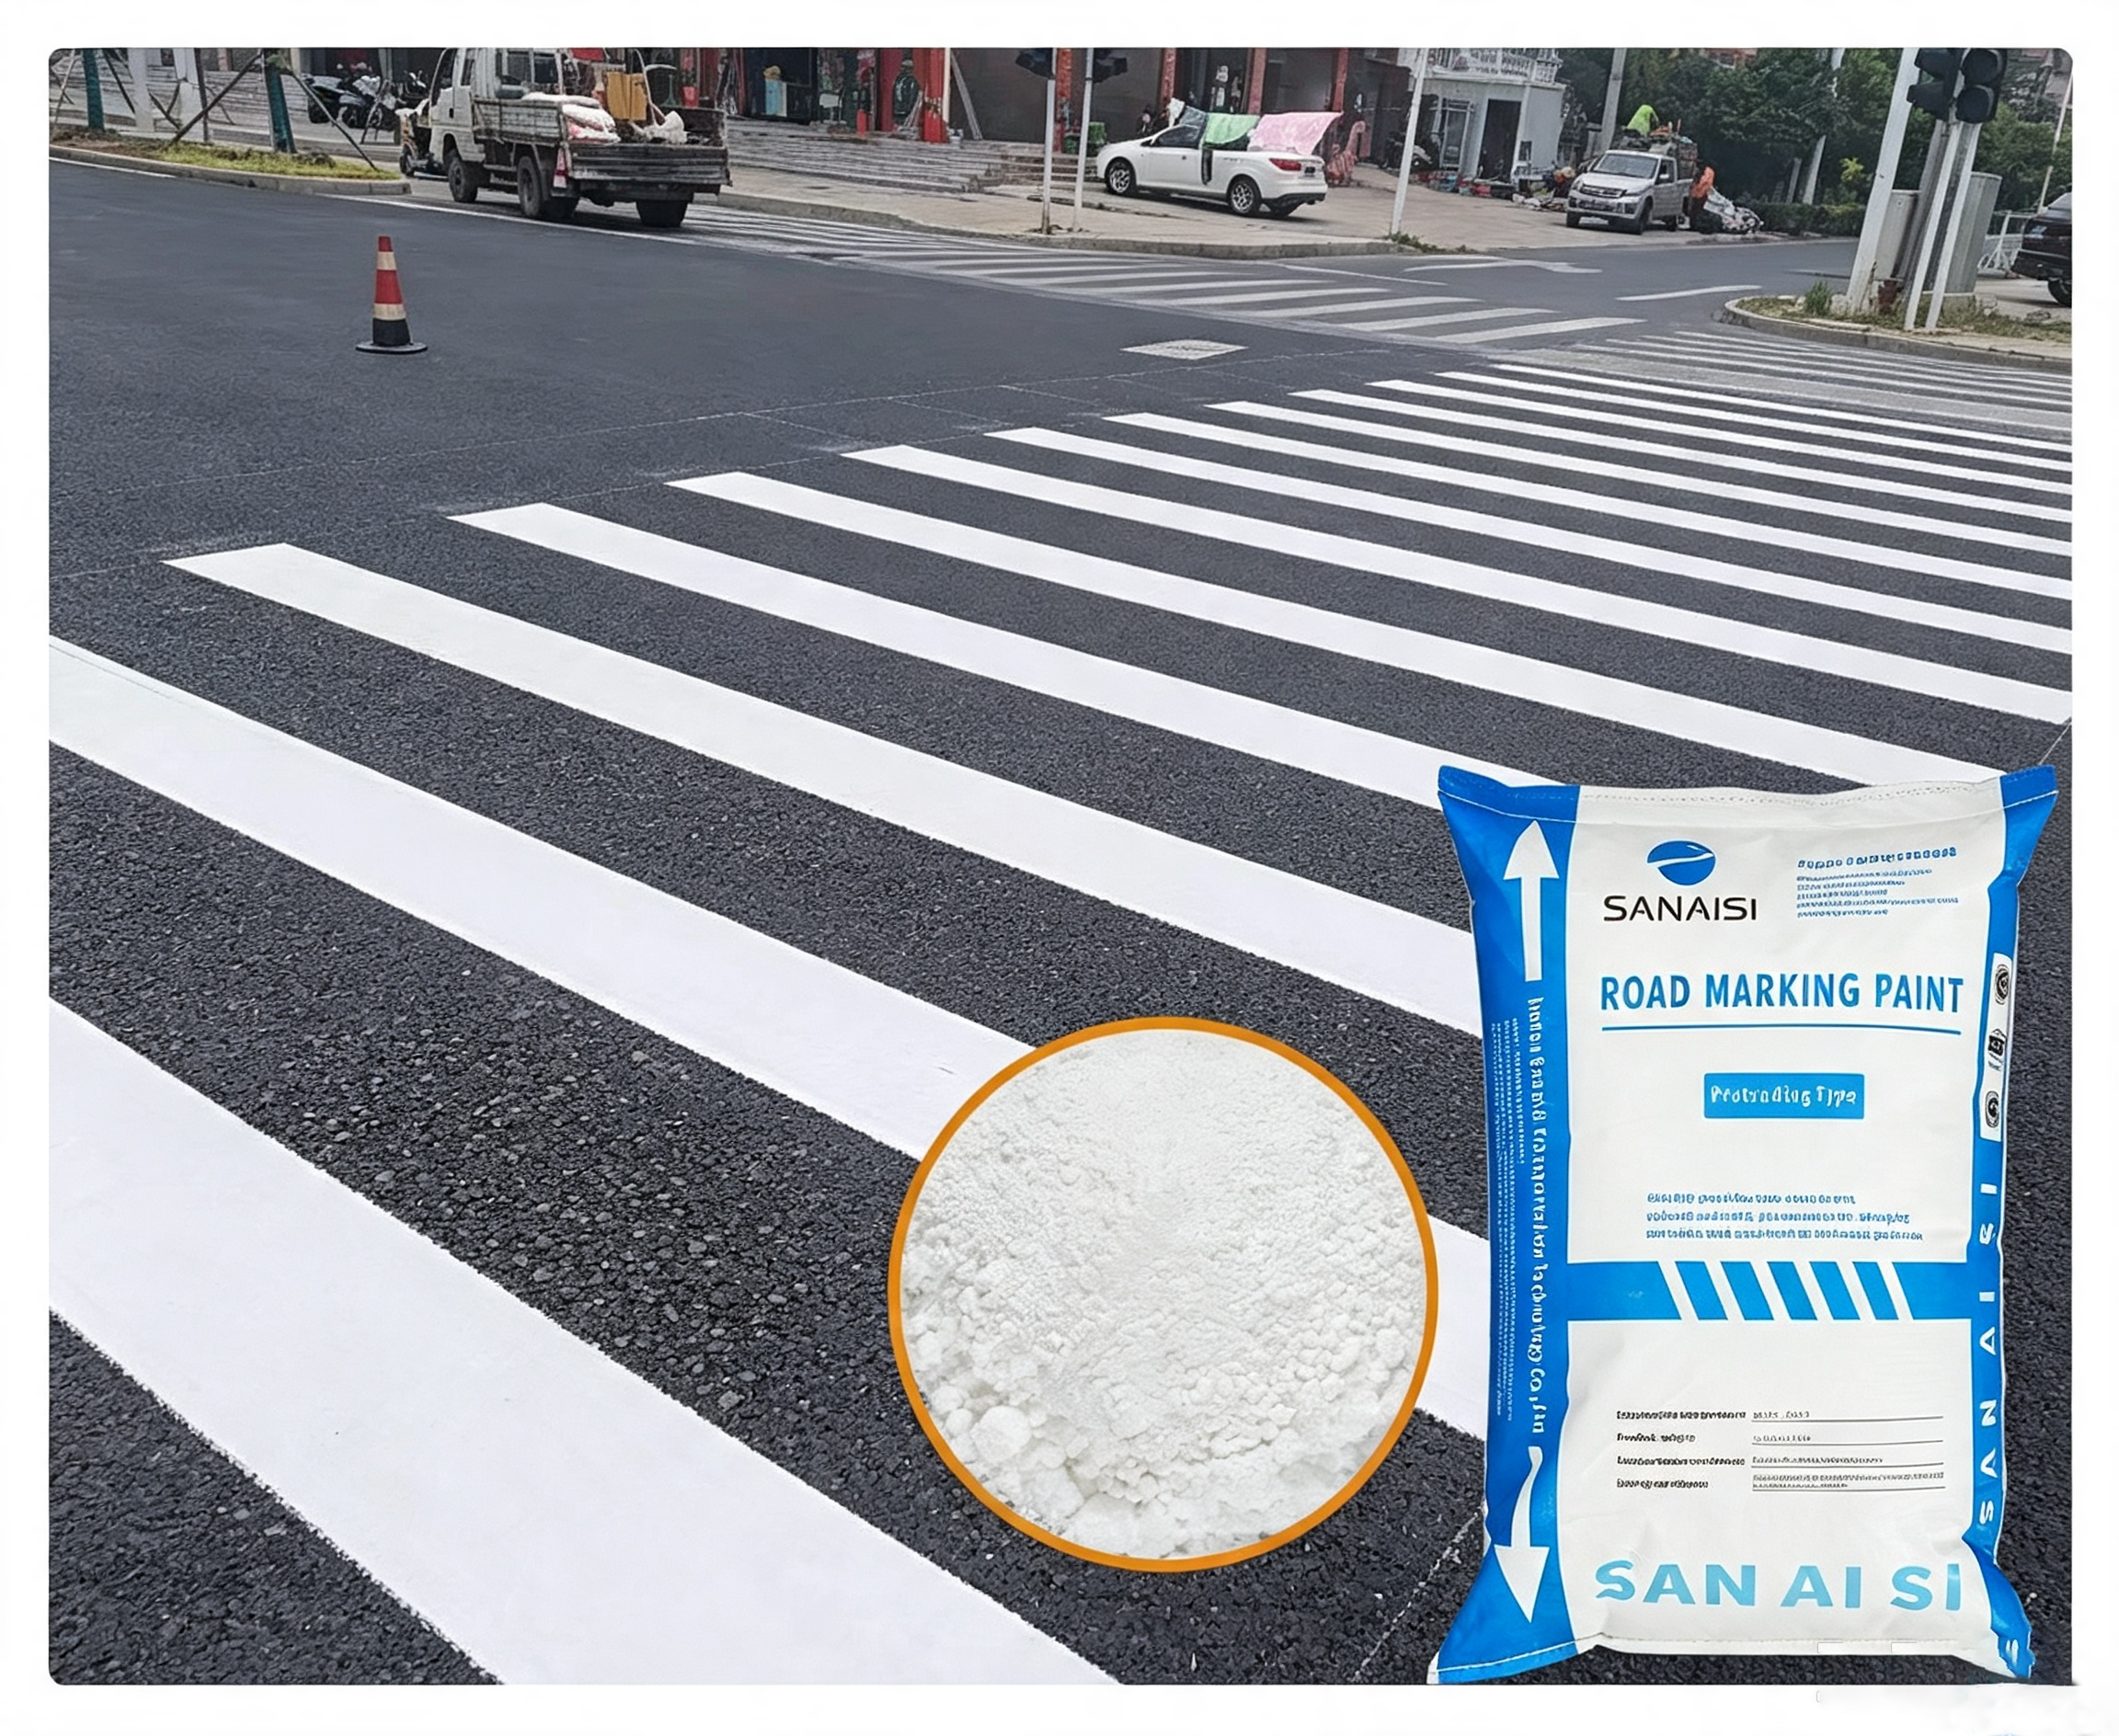
Proper application is one of the most important factors affecting the durability and visibility of road markings. Whether you are working on highways, parking lots, or municipal roads, understanding how to apply single component road marking paint correctly on asphalt surfaces can significantly improve adhesion, drying performance, and long-term wear resistance. This guide explains the complete application process, common mistakes, and practical tips to help contractors achieve professional road marking results.
Before you start, verify these conditions:
| Factor | Requirement |
|---|---|
| Air Temperature | 10-35°C (50-95°F) |
| Surface Temperature | ≥5°C above dew point |
| Surface Condition | Dry, clean, oil-free |
| Humidity | 40-70% RH |
| Wind Speed | <15 km/h |
Essential Tools: Airless sprayer (180-220 bar), surface cleaner, glass bead dispenser, wet film gauge.
2.Surface Preparation
Poor surface prep is the #1 cause of paint failure.
① New Asphalt
Wait 2-4 weeks after paving
Sweep off all loose debris
Remove any oil stains with detergent
Allow 24-48 hours drying after washing
② Aged Asphalt
Pressure wash (200-300 bar)
Remove loose or flaking material
Allow 48 hours drying time
For oxidized surfaces, consider a primer/tack coat
| Mistake | Consequence |
|---|---|
| Applying on damp surfaces | Poor adhesion, blistering |
| Insufficient oil removal | Peeling |
| Not sweeping debris | Localized failure |
| Applying too soon after rain | Streaking, adhesion loss |
| Mistake | Consequence |
|---|---|
| Moving too fast | Thin coating, reduced durability |
| Moving too slow | Thick coating, longer drying time |
| Incorrect gun angle | Uneven coverage |
| Applying in hot weather (>35°C) | Poor bead embedment, rapid drying |
| Applying in high humidity (>80%) | Extended drying time, bead loss |
Need technical advice for your project?

.jpg)